Game of Thrones, Season 4 Event
Well it was our usual get together last Saturday and the bread was a hit as usual! But we should never have watched 5 straight episodes. Way too traumatic!
Caraway Rye Bread
- 1 tsp packed brown sugar
- 1 cup warm water (115 F)
- 4 tsp active dry yeast
- 1 cup warm milk
- 1/4 cup fancy molasses
- 1/4 cup butter, softened
- 1 tbsp cider vinegar
- 1/2 tsp salt
- 2 tbsp unsweetened cocoa powder
- 2 tbsp caraway seeds, crushed*
- 2 cups rye flour
- 4 cups (approx) all purpose flour
- 1 egg, slightly beaten
- Add warm water to the bowl of your stand mixer to warm. Discard water.
- In stand mixer bowl, dissolve brown sugar in 1 cup of warm water. Sprinkle yeast; let stand for 10 minutes or until frothy.
- On speed 2 and using dough hook, add milk, molasses, butter, vinegar and salt and mix for about 1 minute.
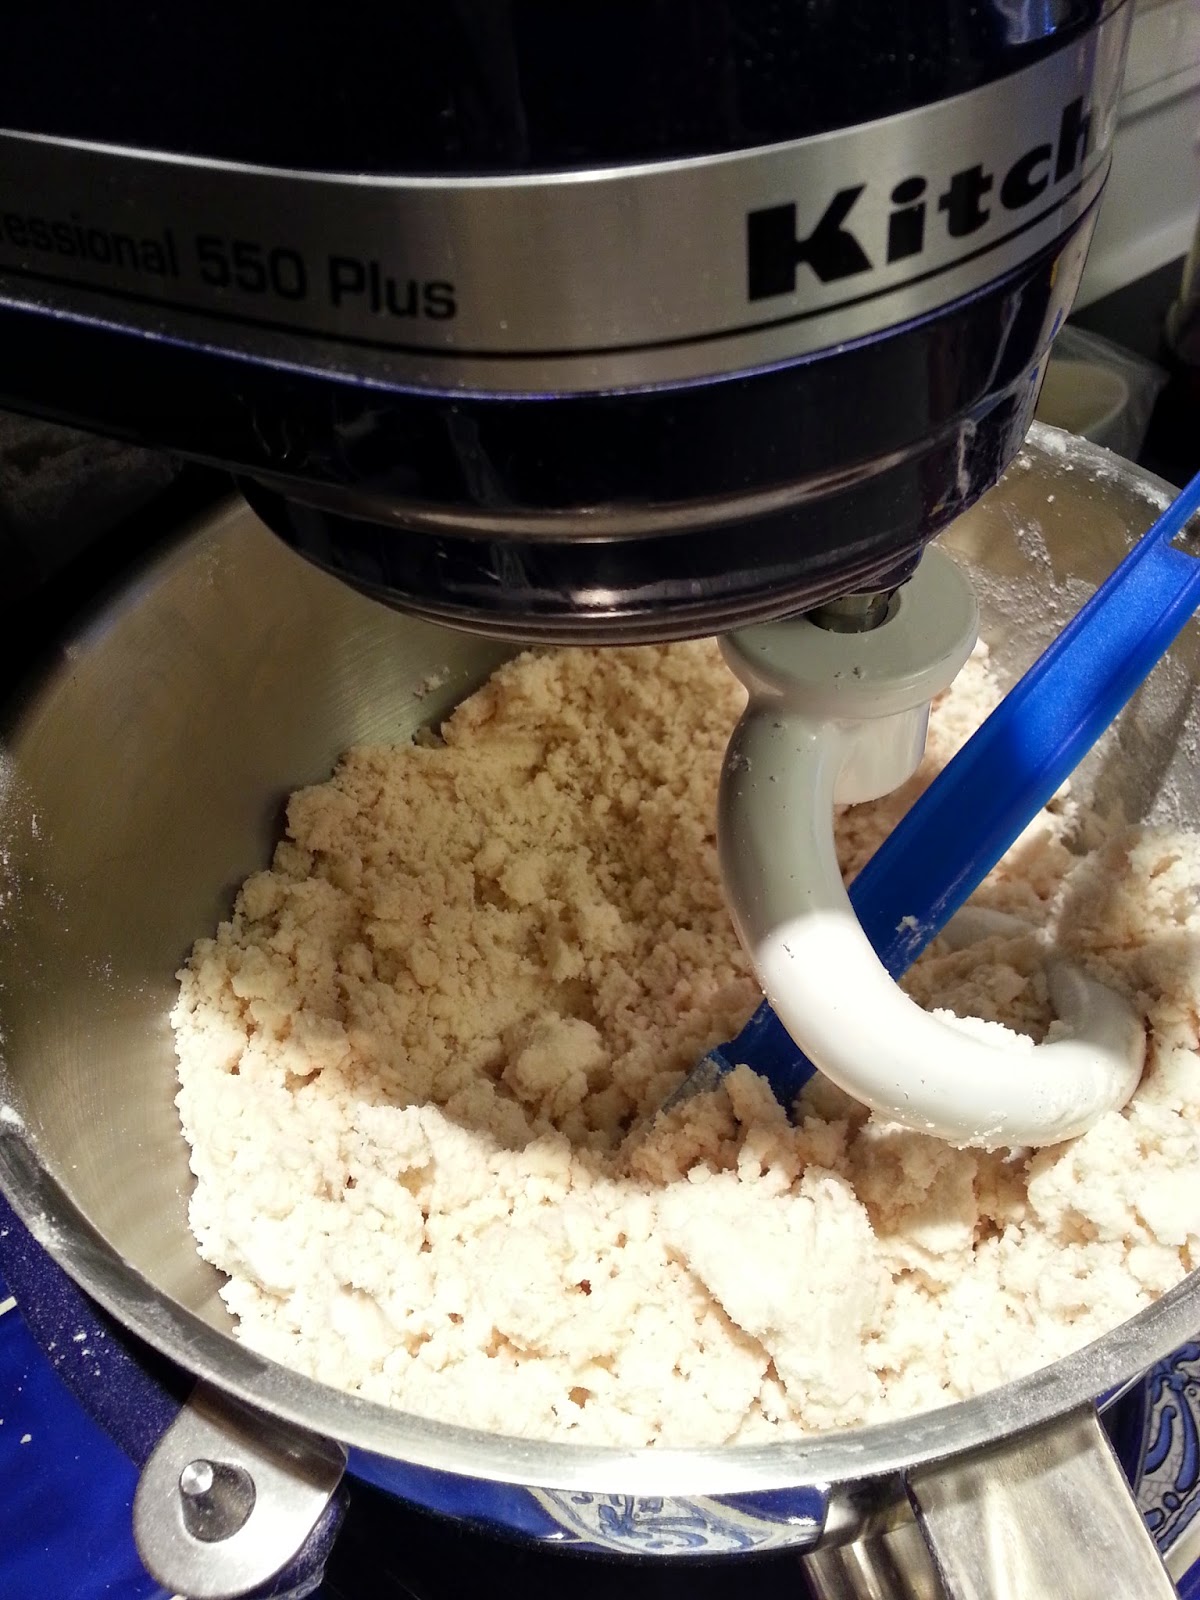
- Continue mixing and gradually add cocoa, caraway seeds, 2 cups of rye flour, 2 1/2 cups of the all-purpose flour to form a sticky dough, about 2-5 minutes.
- Continuing on speed 2, add remaining flour, ½ cup at at time until dough starts to clean sides of bowl. Knead on speed 2 about 2 minutes longer. Never add more than the maximum amount of flour. (1 1/2 cups)
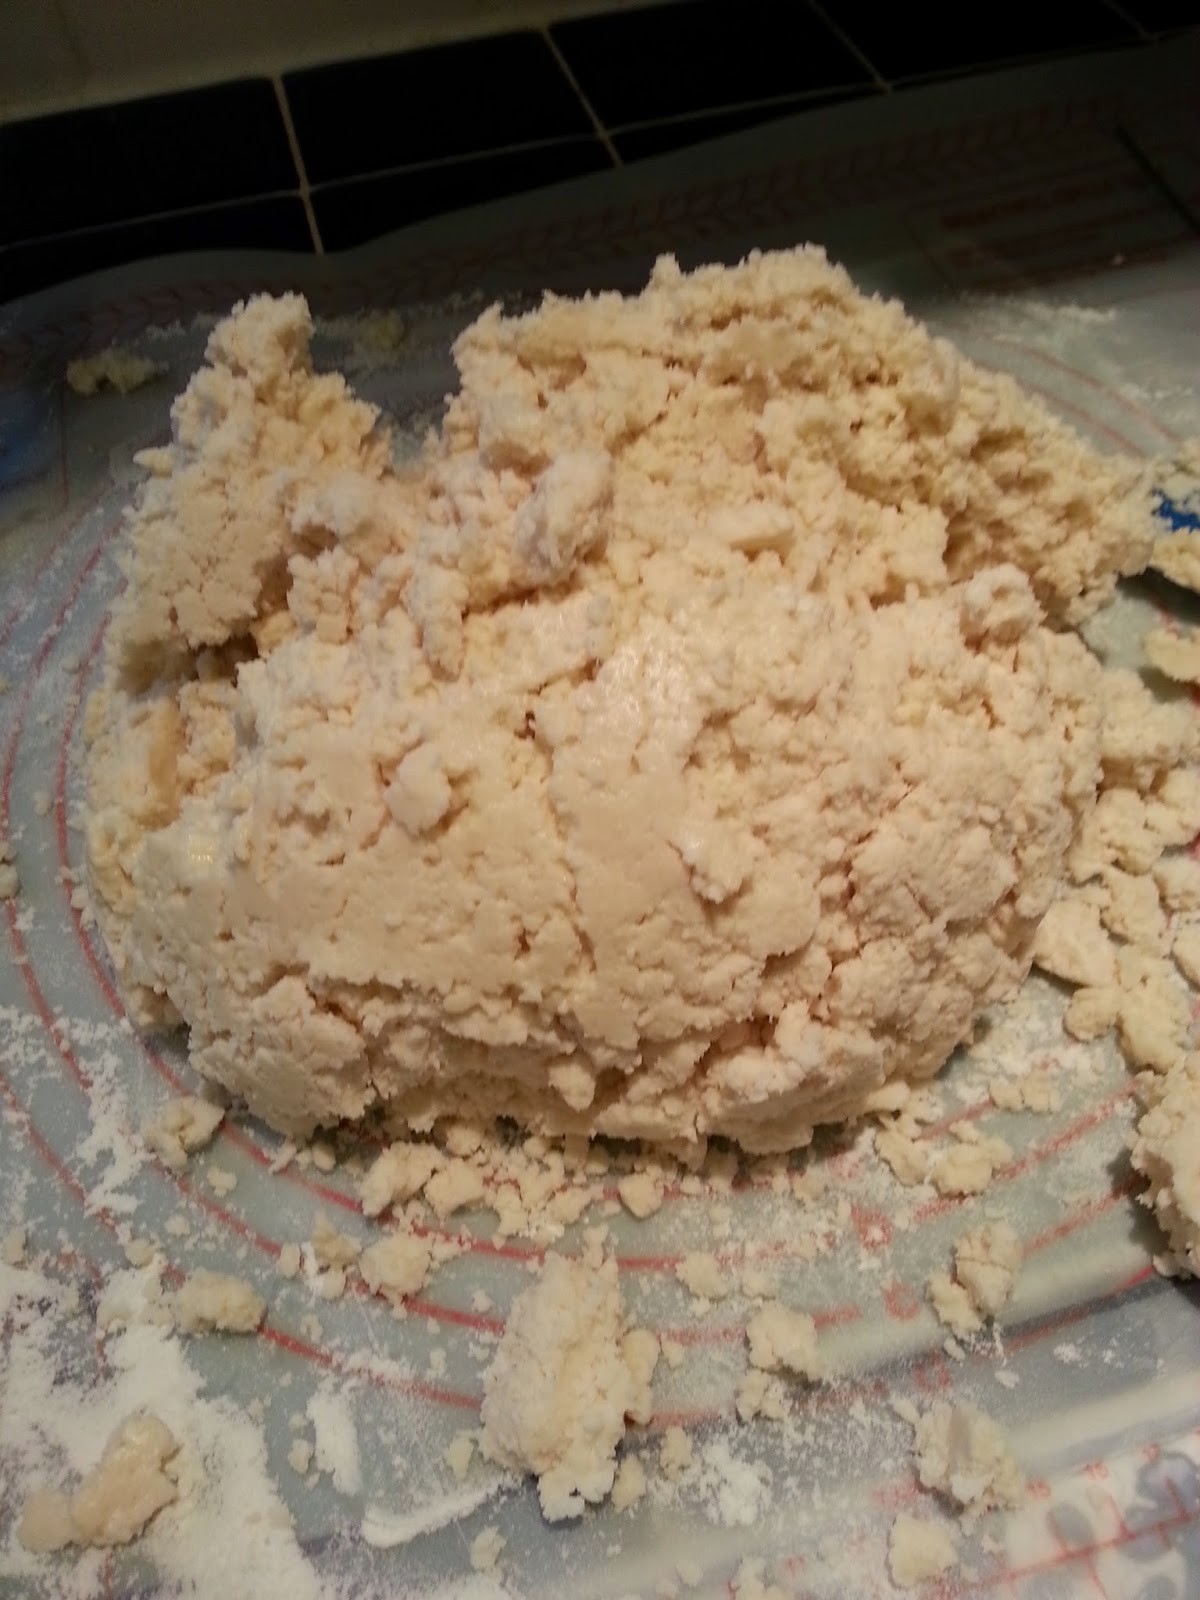
- Place dough in greased bowl, turning to grease top. Cover. Let rise in warm place, free from draft, about 1 hour, or until doubled in bulk.**
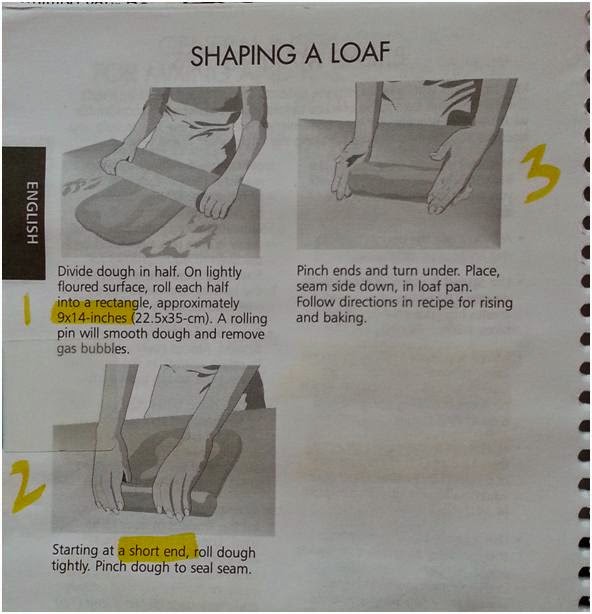
- Punch dough down and divide in half. Shape each half into a loaf.
- Place each loaf in greased 8 ½ x 4½ x 2½ inch baking pan. Cover. Let rise in warm place, free from draft, about 1 hour, or until doubled in bulk.
- Brush the top of loaves with egg.***
- Bake at 350°F for 35-45 minutes or until golden brown.
- Remove from pans and cool on wire racks.****
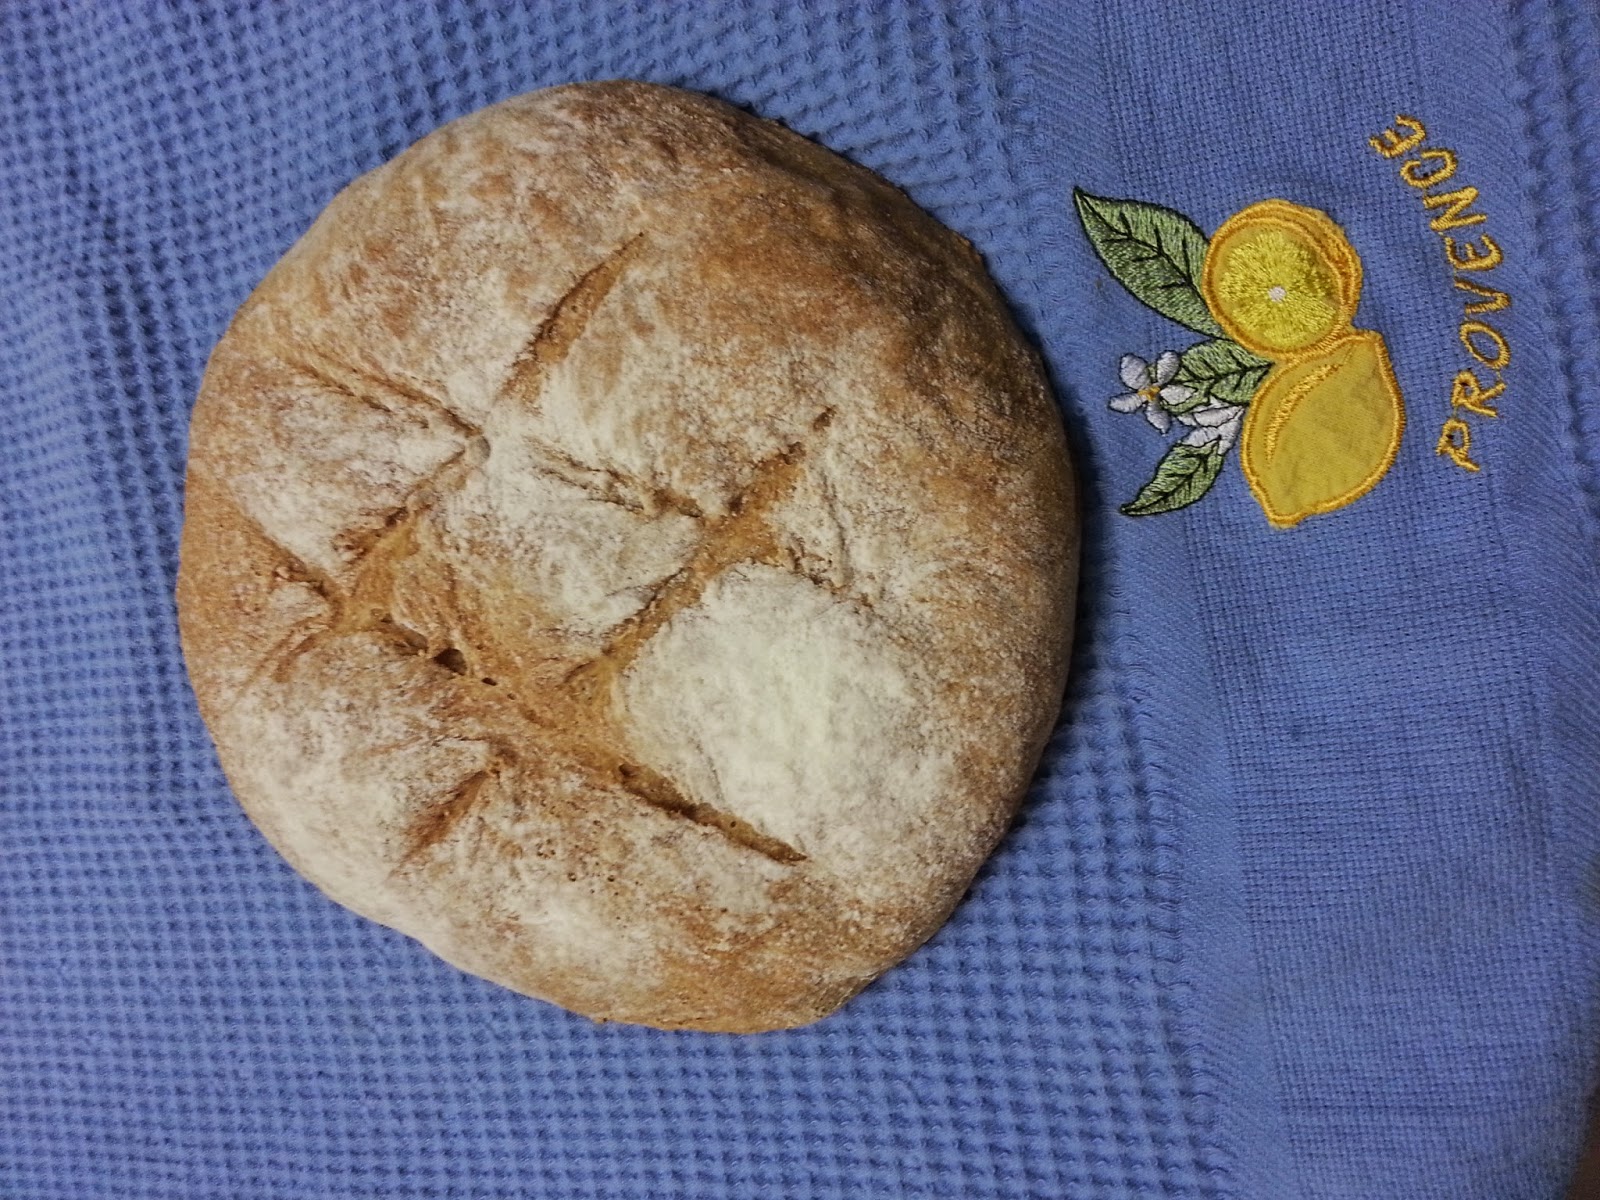
 |
| Sorry there's not much left of it because it was delicious and we ate most of it! but you can see the gorgeous shiny top from the egg wash! |
Notes:
- *Crushed caraway seeds: This was a challenge! I tried my mortar and pestle-no luck at all. Then I tried my mini food processor-the seeds seemed to stay whole and then I couldn't get the smell out of the food processor. I've seen posts that suggest you crush them with a pot or with the edge of a knife-good luck with that. The darn seeds seem to be coated in titanium. In the end, it made no difference as the bread was delicious, even with the not-so-crushed seeds.
- **until doubled in bulk: Well, how do you know if it's doubled? They never tell you in the recipe! To test, poke the dough gently to make an indentation. If the indent stays, it is doubled. If it disappears, then the bread is still wanting to rise some more.
- ***Brush the top of loaves with egg: You do this to put a shine on the top of your loaf and it makes them look amazing. Kind of the equivalent of bread bling!
- ****Remove from pans and cool on wire racks: Do it! If you don't do this fairly soon after the bread comes out of the oven, it gets kind of wet and soggy on the bottom.